Setup iCloud Family Sharing on your iPhone
Mar 29, 2017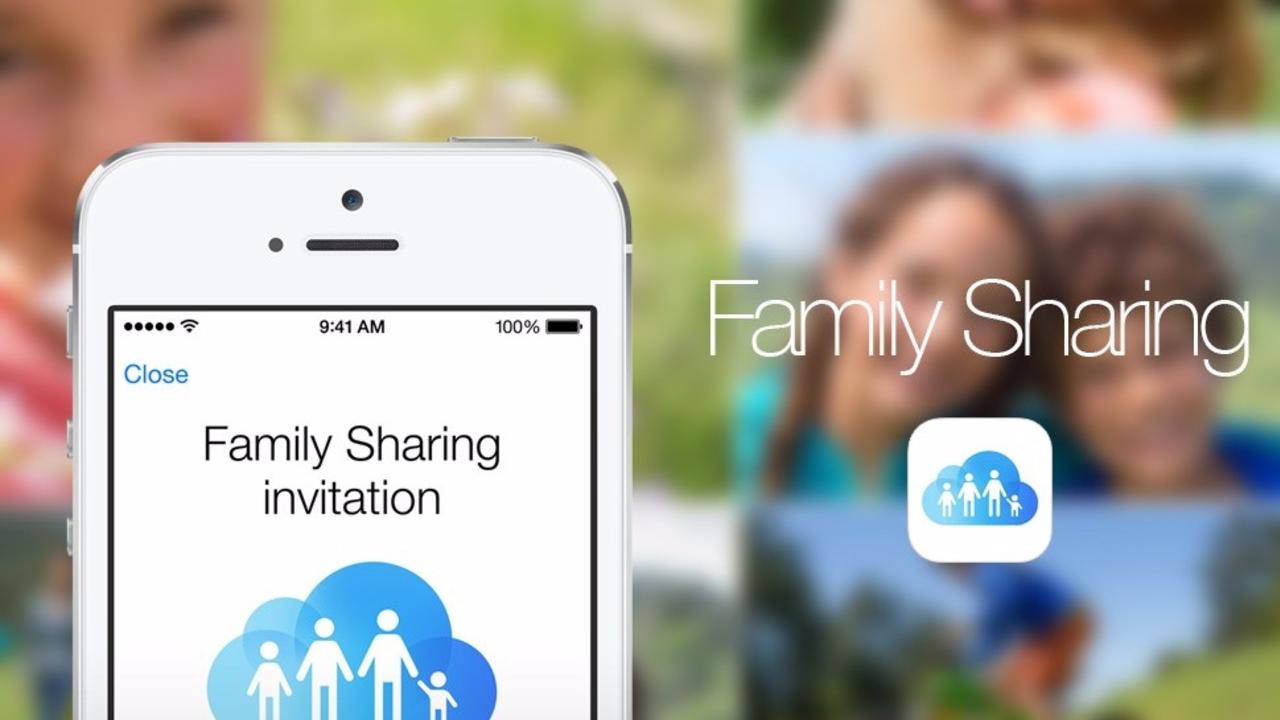
Share purchases with up to six family members and allow paymentsfrom a single credit card
As fans of Apple products, it is highly likely that you will have more than one iDevice at home, possibly being used by multiple people. But what if you could bring all of your family’s accounts together and allow purchases made on one iPad or iPhone to be made available on another? And what if you didn’t have to share your own Apple ID or password but allowed everyone to have their own accounts while using a single credit or debit card that you can still control? With Family Sharing, you are able to link accounts together within a single group. Purchases made by one family member can be downloaded by another. Children under 13 can be forced to have their payments verified by you before they go through, and you can use the new feature to share a family calendar, photo album and reminders list. What’s more, if you turn on Location Sharing, you can even allow other family members to see where your devices are.
1: Set up sharing
When you activated iOS 10, it asked if you wanted to set up Family Sharing. If you skipped this, then you can simply go to Settings > iCloud > Set Up Family Sharing.
2: Get Started
On the Family Sharing set-up page, there is an explanation of what the feature does. Tap Get Started and you should see your name. Tap continue to become the Family organiser.
3: Share purchases
You must indicate an Apple ID account which will be used to share purchases. Don’t wish to use the one you are logged in to? Tap ‘Share purchases from a different account.
4: Payment method
A payment method needs to be linked to your account. If one is missing, go back to Settings,tap iTunes & App Store, tap your ID and input the details of a debit or credit card.
5: Share location
Now you must decide whether or not you wish to share the location of your device with your family. It will show up in the Find My Friends, Messages and Find My iPhone apps.
6: Add Family Member
Start to build up your family. Tap Add Family Member and input their name or email address. Repeat this for your other family members. You can have six, including you.
7: Invitations sent
Your invitees will be sent invitations via email. Invitations can be accepted or declined. Once accepted, the family member will be included
in your group. You will be alerted.
8: Child’s Apple ID
Do you have a child without an Apple ID? Create one. Go to Settings > iCloud > Family and select ‘Create an Apple ID for a child.’ Input
their date of birth, name and think of an ID.
9: Ask To Buy
Want to approve iTunes, iBooks and App Store purchases? Slide Ask To Buy to green. Tap on family members and indicate if they are a parent/guardian to give them approval rights.
