The Settings you Should Change RIGHT AWAY on a New Computer
Mar 01, 2023
Apple does a great job of making their computers work right out of the box. But that doesn’t mean that the default settings that come preinstalled are always the best settings to use.
As a technology professional, whenever I set up a computer there are a handful of settings that drive me absolutely crazy that I change right away. So to make your technology work better, here are my recommendations for the top settings to change as soon as you set up your machine.
Step 1: Declutter the Dock

The Dock at the bottom of your Mac screen is one of the most valuable and simple tools on the Mac. It gives you easy access to the Applications you use most and makes it easy to switch between apps, but the preconfigured settings leave a bit to be desired.
First off many apps are added to the dock that most users don’t need, don’t use, and don’t even know what to do with. So I clean off anything the user is not utilizing. This includes apps like FaceTime, AppleTV, Pages, Keynote, Numbers and Podcasts. If you are a heavy user of any of these Apps you can leave them on the dock, but if not it’s “Hasta La Bye Bye” for those apps.
Remember, all the applications on the dock actually live inside your application folder so by removing them from the dock you’re not actually deleting them, and you can access them at any time from your Applications folder.
Next, Remove Launchpad (and other Utilities). Launchpad was intended as an easy way to get to all your Applications. But the execution is lacking. One click opens up a screen where you see some (but not all) of your apps. You are supposed to swipe through the pages to access the other apps. The pages are not organized in any way I can tell (not alphabetical, not most recently used, not most frequently used). So what should be simple is instead a clunky way to get to your Applications. So I pull it right off the dock. Instead, I take the Applications Folder (located in your finder, inside your hard drive) and drag it to the right side of the dock. Once it is on the dock, I right-click on it and set it to “Display as Folder” and “View as List”. This puts all your applications one click away from you in alphabetical order. Depending on what operating system you are on (and whether you migrated from a prior machine) you may find other Utilities on the dock like Siri, Mission Control, and Time Machine. Siri and Time Machine are already on the menu bar at the top so those can be removed as well… and Mission Control (which gives you a Birds Eye view of all your open windows and Applications) can easily be triggered in a number of simpler ways (the F3 button, trackpad gestures or hot corners) so that can go away as well. Some people will also remove the App Store and System Settings (or System Preferences) since you can find them under the Apple Menu, but I use them a lot so I leave them on the Dock.
Remember: An UNCLUTTERED dock makes it EASY to find the apps you NEED
Step 2: Streamline Your Settings
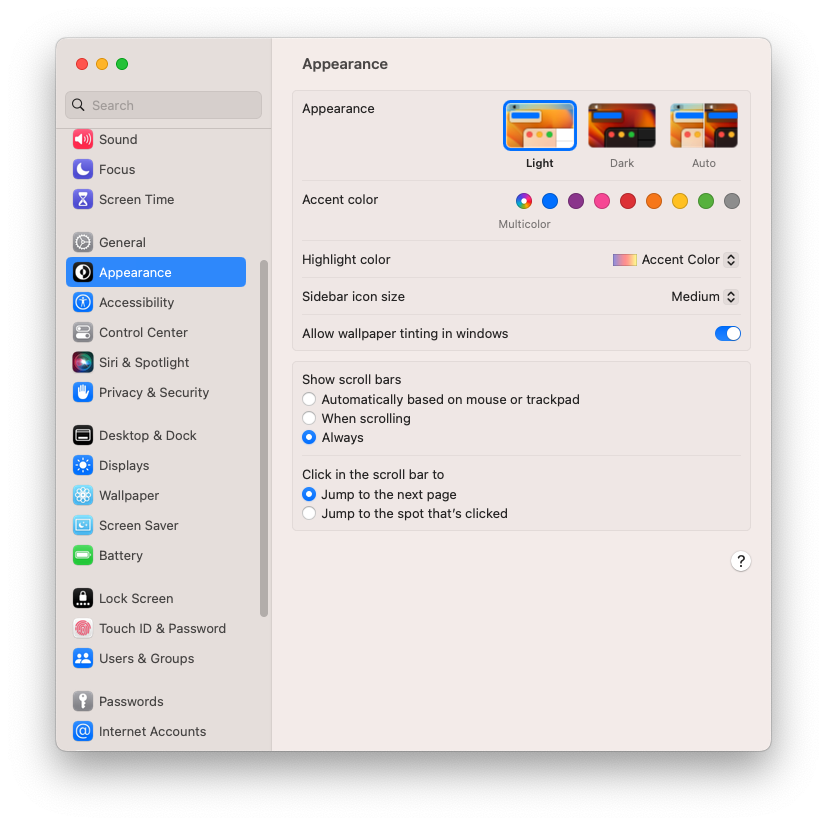
The next few changes take place directly in System Settings. APPEARANCE: Start in the appearance section, and change the scroll bars setting from “automatically” to “Always”. In an effort to get people to use mouse and trackpad scrolling more Apple chose to hide the scroll bars whenever possible all over the Mac system. I think this is extremely confusing and unnecessary so I turn them back on. You can also change the appearance between Light mode, Dark mode, or Automatic mode which changes the computer to light and dark automatically depending on the time of day.
Personally, I prefer Light mode, but Dark mode is easier to read at night and saves a lot of battery so it’s just a question of which view YOU prefer.
LOCK SCREEN:
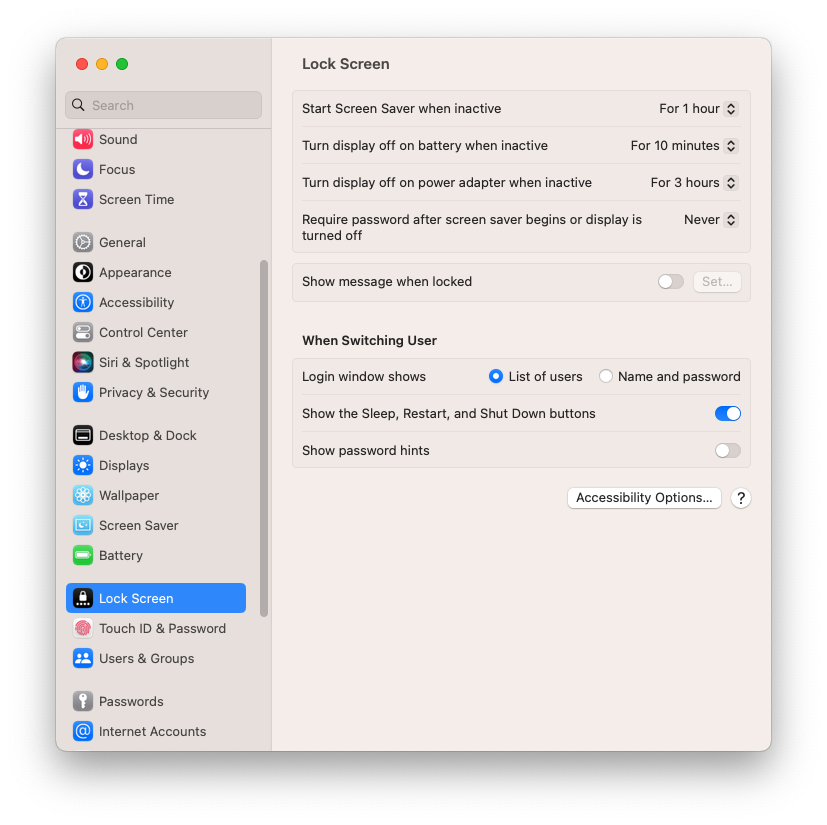
Next stop is the Lock Screen preference (before Ventura this was found under Security and Privacy). In this section, you will find a super frustrating setting. Under “Require Password after Screen Saver Begins” change this from IMMEDIATELY to never. Without making this change, every time your computer goes to sleep it will force you to log back in with either your password or your fingerprint. It will warn you when you make this change, and ask if you still want to use your keychain. Say yes, and thank me later.
TOUCH ID: In yet another case of Apple complicating the once simple, there is a counterintuitive setting under Touch ID. Before Touch ID when you went to a website and wanted to autofill your username or password you just clicked on it, but after Touch ID to autofill, you HAVE TO put your fingerprint down. This is an unnecessary extra step. Just unclick “Use Touch ID for auto filling passwords” and you can return to a simpler time.
CONTROL CENTER:
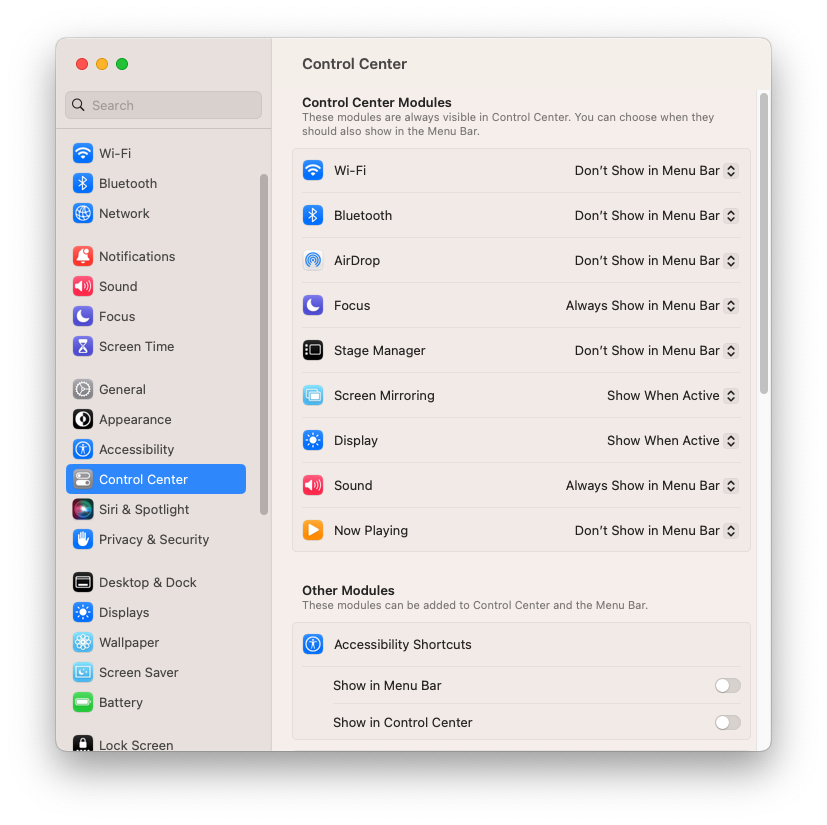
Recently to simplify the menubar (the strip across the top of your screen) Apple added a “Control Panel” similar to what you get on the iPad and iPhone. In doing so they moved some NECESSARY settings off the menubar and hid them in the control panel. This makes it difficult to do simple things like turn up the volume, turn on Do Not Disturb, and connect to Bluetooth, so I change those settings. From here I change Bluetooth, Focus, and Sound from “when active” to “always”. This lets you turn on Do Not Disturb without having to hunt around for it, allows you to easily connect or disconnect bluetooth devices, and simplifies adjusting your volume. You can also adjust your Clock options at the bottom of this page and I highly recommend turning on Time Machine.
Step 3: Fix the Finder
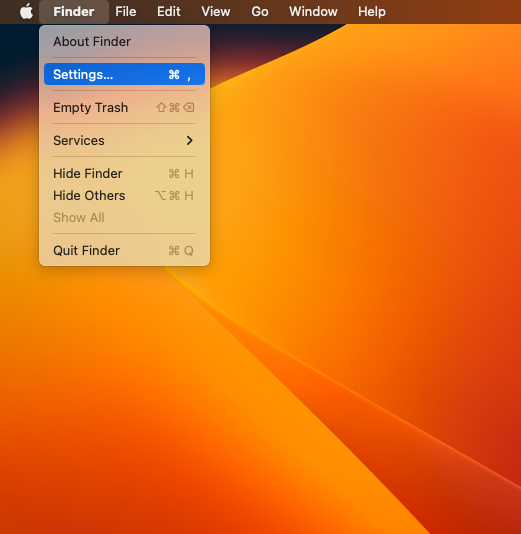
Most people take the finder for granted, but it is one of the most used sections of your computer. The desktop is part of the finder and all the folders you have are also part of the finder. Start by opening the Finder (by either clicking on the face on the dock or clicking on the desktop) and then go to Finder Settings (under the Finder menu or by clicking ⌘+comma). From here click on each of the tabs detailed below:
GENERAL:
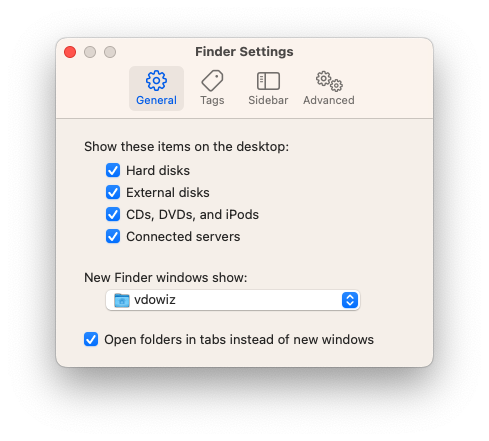
Under the general tab I turn everything on so that all my devices and hard drives are easy to find right on the desktop (rather than having to open the finder or hunt around for them). I also set the New Finder Window to open to my home folder. You may set it to WHATEVER folder you use the most (like Dropbox or your Desktop or Documents Folders).
SIDEBAR:

In the Sidebar section I turn off recents (which is a useless and cluttered folder), and turn on my home folder (which houses most of your important items). I also turn off Movies, Music and Pictures (since they all exist IN the HOME FOLDER). I also turn off Downloads but I know a lot of people like easy access to that folder so you may want to leave it on. Then in the locations section, I make sure Hard Disks, External Disks, CDs/DVDs Bonjour and Connected Servers are turned on. This ensures that WHATEVER device you connect to your computer it shows up on the sidebar and is easy to access.
ADVANCED:
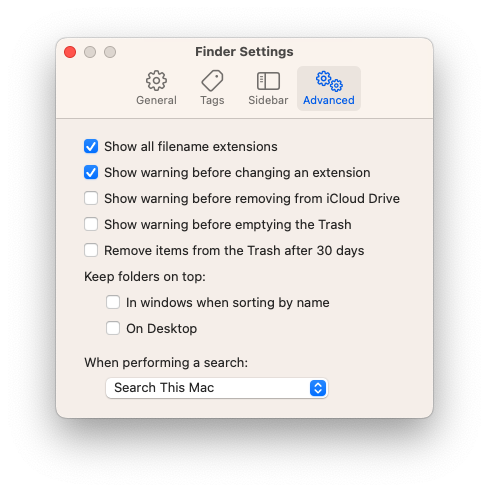
Under the Advanced Tab I turn all “Show All Filename Extensions” which makes it much easier to tell what kind of file a specific document is (ie JPG, DOCX, PDF, MP4, etc…). And I turn OFF the iCloud Drive warning.
Step 4: Simplifying Safari
Most of the settings that come preinstalled on safari are decent, but there are a couple that drive me bonkers. Start by opening up Safari and then going to settings (under the Safari menu or ⌘+comma). From here, click on the two tabs described below:
GENERAL:
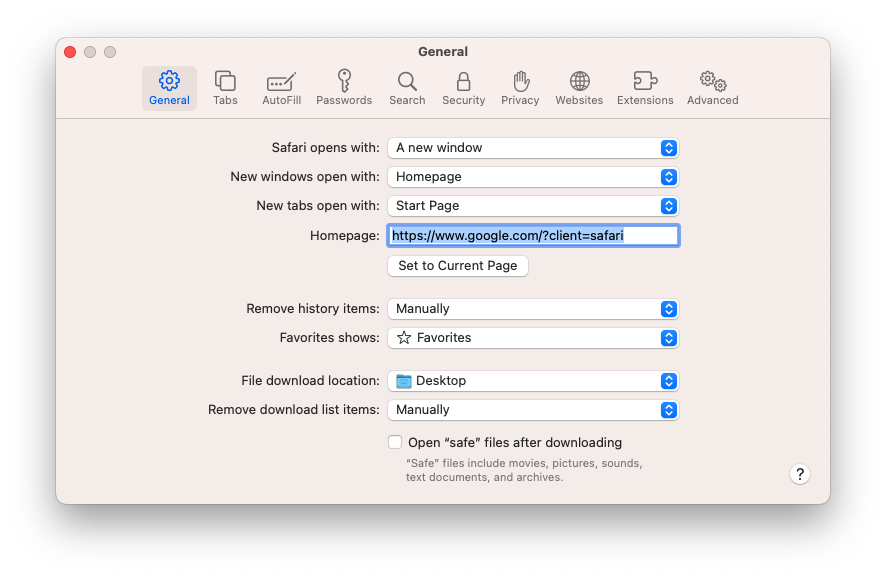
Change the download location. I’m not a big fan of the downloads folder since it lets you procrastinate filing and deleting the things you download.So I set the download folder to my desktop so that everything I download is easy to see and find, and so that I am forced to delete or file things rather than just let them accumulate in the downloads folder itself. Then I set safari to open with a new window, and new windows to open with a home page. I generally set that home page to Google, but any page that you would want to start your browsing with works. I change remove history items and remove download items to manually, so that I never accidentally misplace or lose anything. \
WEBSITES:
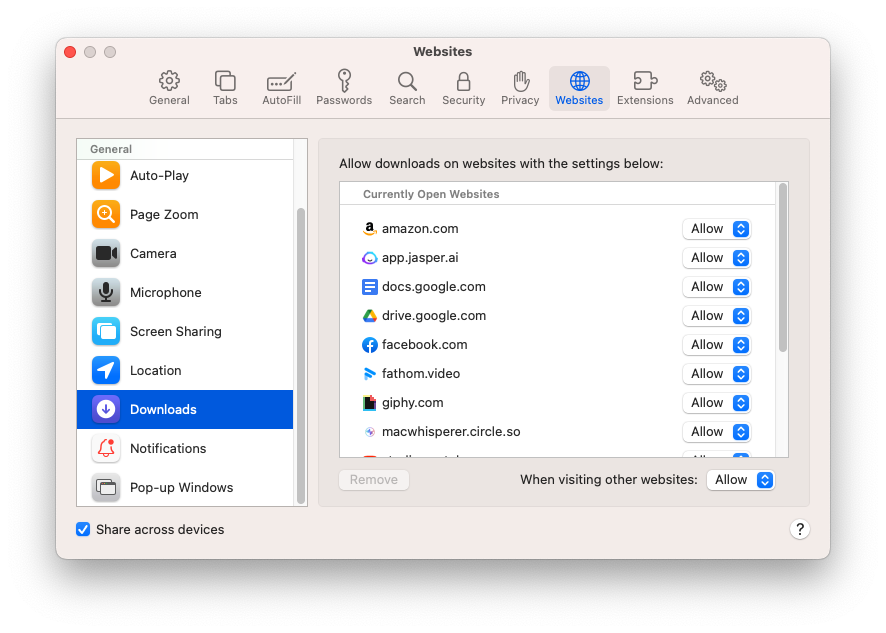
This tab hides my single least favorite Apple setting… the downloads section. Without changing this setting EVERY TIME you go to download ANYTHING the computer will ask you if it’s ok. YES, I clicked download, of course it’s ok… So in this section click on Downloads on the left side and on the right side change the “When Visiting Other Websites” from Ask to Allow. Now you can download it easily without being harassed. Now with these changes made I am ready to rock and roll on this machine with minimum disruptions or issues.
Are there other settings you change? Did I miss any? Drop a comment below and let me know what you think.
